Why DICOM Is Not Just an Image
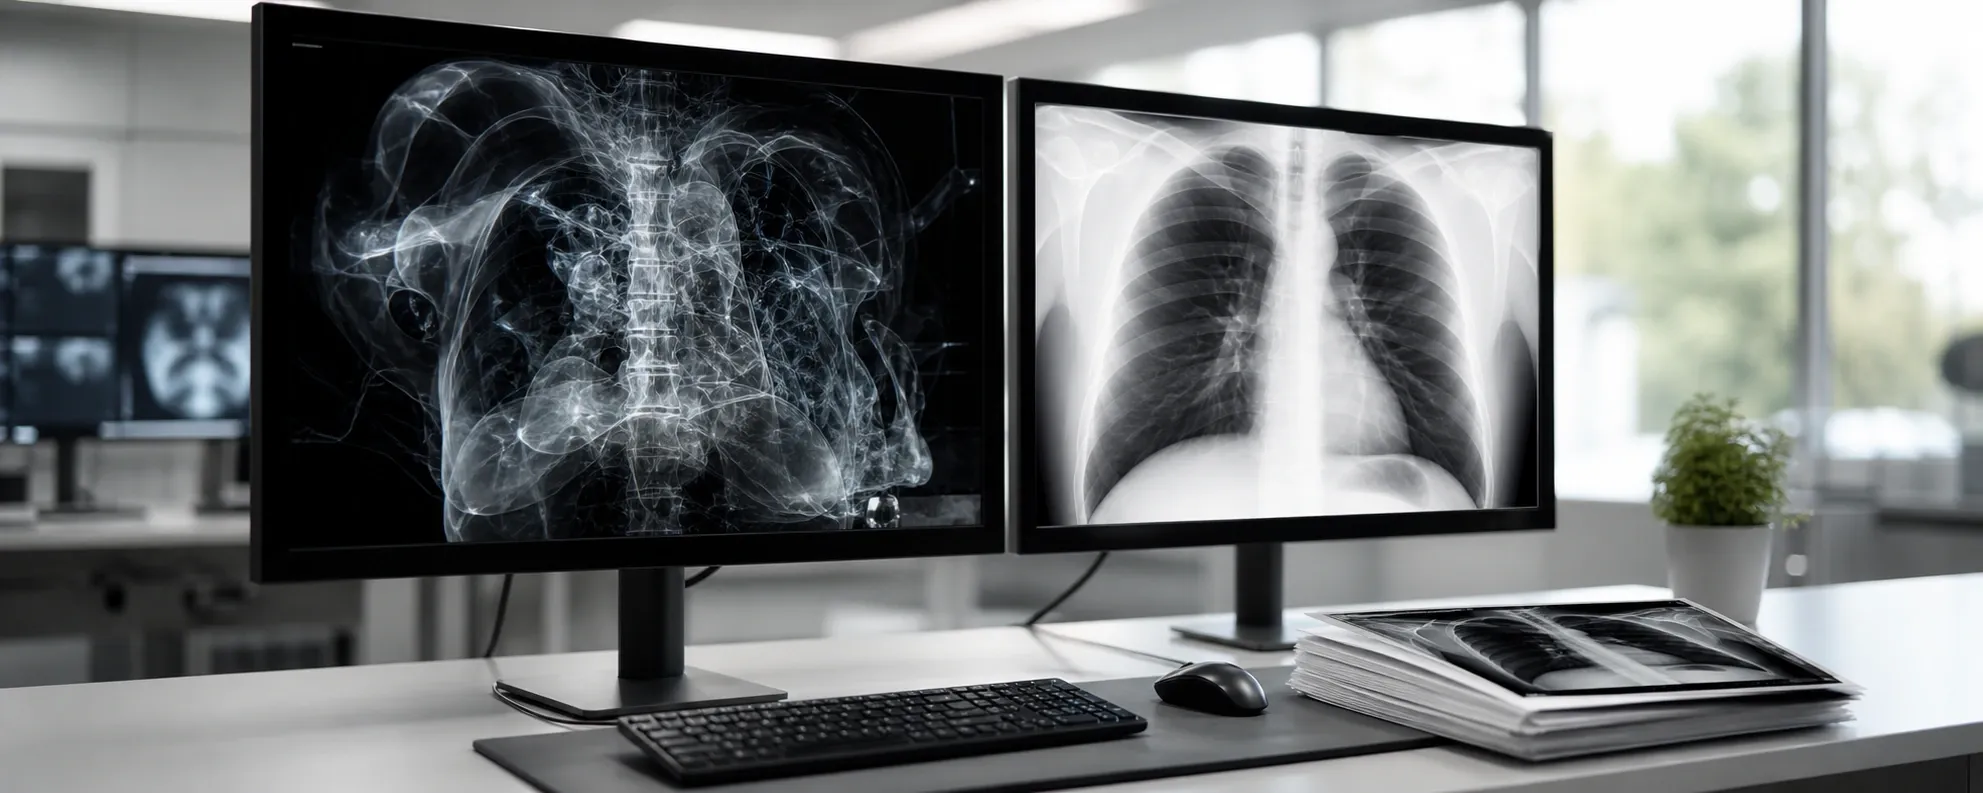
A DICOM file is far more than a picture. It is a structured object that bundles pixel data with hundreds of metadata attributes — patient identifiers, acquisition parameters, equipment details, and the display settings a radiologist used. The pixel data itself often has a much higher bit depth than an ordinary image: a CT scan stores thousands of distinct intensity values (Hounsfield units), where a JPEG can represent only 256 levels of gray per channel. Converting DICOM to JPEG or PNG therefore involves real decisions, not a simple format swap.
The most important of those decisions is windowing, and understanding it is the difference between an export that looks right and one that looks washed out or impenetrably dark.
Window and Level: Mapping Wide Data to a Narrow Screen
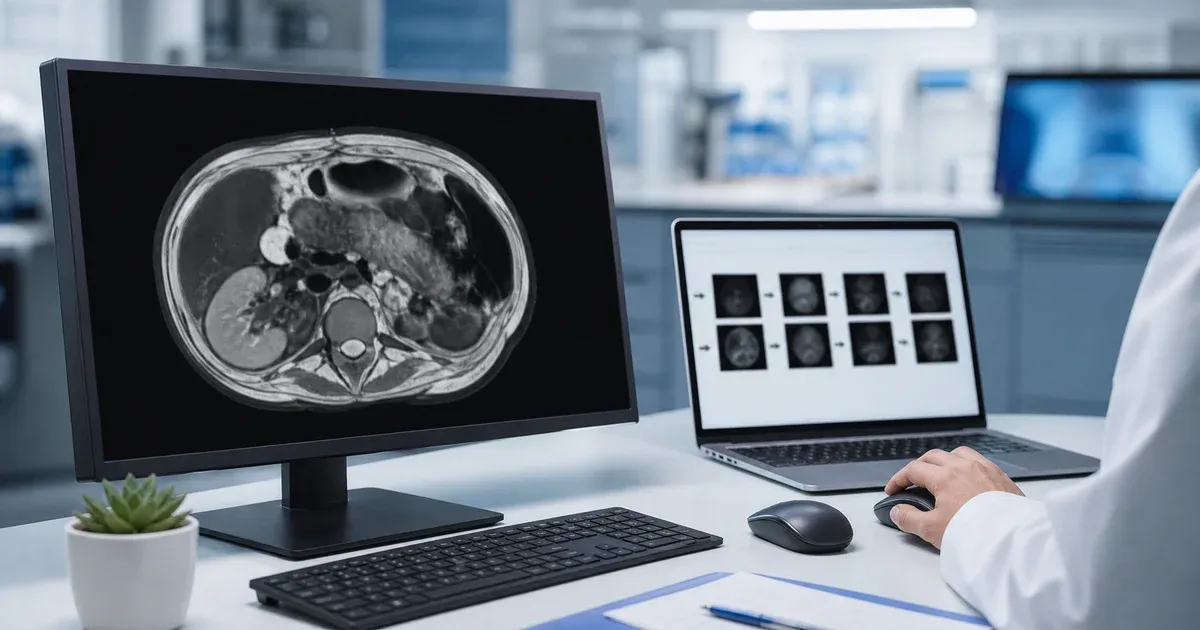
Because a monitor and a JPEG can only show a limited range of brightness, the DICOM viewer must map a slice of the image's full intensity range onto that visible range. The window width sets how many intensity values are spread across the available gray levels, controlling contrast. The window center (or level) sets which intensity sits in the middle, controlling brightness. A narrow window with a low center reveals soft tissue; a wide window centered higher reveals bone. Most DICOM files carry suggested window values, which this converter loads by default, but you can adjust them before exporting so the exported JPEG or PNG emphasizes exactly the anatomy you care about.
JPEG vs PNG for Medical Images
JPEG uses lossy compression: it discards information the eye is unlikely to notice, producing small files ideal for presentations, emails, and reports. The quality slider trades file size against fidelity. PNG is lossless: it preserves every pixel exactly, which matters when an image will be measured, annotated, or used for documentation where compression artifacts could be misleading. As a rule, choose PNG when accuracy is paramount and JPEG when file size and convenience win. Neither format preserves the original DICOM bit depth, so for any diagnostic re-use you should keep the source .dcm file.
Multi-Frame Objects and Cine Loops
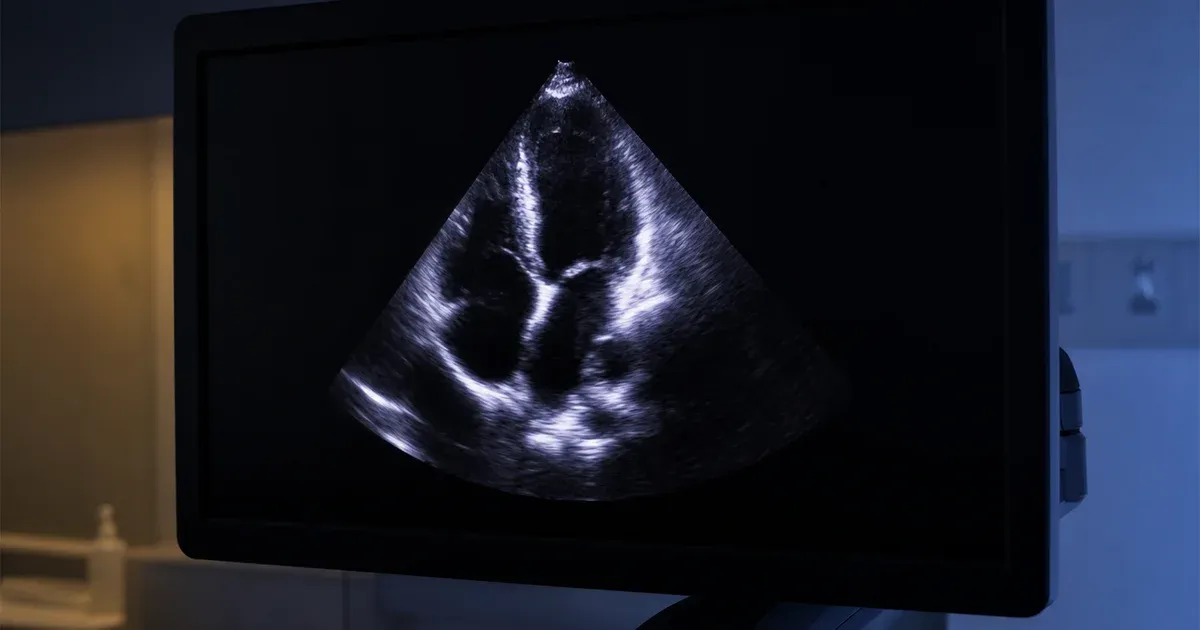
Some DICOM objects contain many frames in a single file — ultrasound cine loops, multi-phase CT, and cardiac MR are common examples. Converting these means deciding whether you want one representative frame or the entire sequence. This tool lets you scrub to a specific frame for a single export, or render every frame and bundle them into a ZIP, naming each file with its frame number so the order is preserved.
The PHI Problem Conversion Does Not Solve
Stripping the DICOM wrapper removes the structured metadata tags, but it does not remove patient information that was burned directly into the pixels — a name overlaid on an ultrasound image, an accession number in the corner of a scanned film, or an annotation added at the scanner. Those identifiers survive into the JPEG or PNG. Before sharing converted images outside a trusted environment, run the source files through a de-identification step and visually confirm that no burned-in text remains. Converting is not the same as anonymizing.
A Practical Workflow
For most users the sequence is: load the DICOM files, set the window and level so the region of interest is clear, choose JPEG for sharing or PNG for documentation, pick the frame if the object is multi-frame, and export. If the images will leave your institution, de-identify first and review each exported image for burned-in text. Because everything runs locally, you can convert sensitive studies without the compliance risk of uploading them to a third-party website.
Bit Depth and Why the Original Still Matters
One detail worth repeating: JPEG and PNG store at most 8 bits per channel, while CT and MR data are commonly 12 or 16 bits. The conversion necessarily collapses that range through your chosen window, discarding intensity information outside it. For viewing, sharing, and teaching this is exactly what you want. For anything quantitative — re-measuring Hounsfield units, re-windowing later, or feeding an algorithm — the converted image is insufficient and you must return to the source .dcm. Treat the JPEG or PNG as a faithful snapshot of one presentation, not as the study itself, and keep the original archived.
Three Practical Conversion Workflows
A radiology resident preparing a teaching slide from a synthetic CT series loads the study, narrows the window to highlight the finding, picks the single most representative slice, and exports a PNG so the annotation stays pixel-accurate when it lands in a presentation deck.
A sonographer documenting a synthetic cine loop for a QA report scrubs through the frame slider to confirm the loop plays back correctly, then uses "Download all (ZIP)" to export every frame in sequence — each file named by frame number — so a reviewer can page through the whole loop outside a PACS viewer.
A referring clinic assembling a synthetic referral packet drops a batch of a dozen .dcm files at once, sets a consistent window across the series, and exports the whole batch as one ZIP — turning a folder of raw studies into a set of shareable images without opening each file individually.
When Not to Use This Tool
This converter renders whatever pixel data the browser can decode; for the common uncompressed transfer syntaxes used by CT, MR, ultrasound, and X-ray, windowing is computed directly from the pixel values. For DICOM files whose pixel data is encapsulated (JPEG- or JPEG2000-compressed), the frame is handed to the browser's own image decoder rather than a DICOM-specific codec, and windowing on those frames falls back to an approximate brightness/contrast adjustment rather than exact VOI LUT math — treat the result as a quick preview, not a diagnostic-grade re-render, for compressed studies. It also does not export PDF, DICOM Secondary Capture, or video containers, only JPEG and PNG, and it does not strip or alter any PHI in the file — pixel-level identifiers still need a de-identification pass first.
Transfer Syntax Handling at a Glance
DICOM PS3.5 defines many transfer syntaxes for how pixel data is encoded on disk. This converter's behavior differs depending on which one a file uses:
| Pixel data | How it's rendered | Windowing accuracy |
|---|
| Uncompressed (native) | Decoded pixel-by-pixel from raw values | Exact, matches diagnostic viewers |
| Encapsulated / JPEG, JPEG2000 | Handed to the browser's native image decoder | Approximate (CSS-level brightness/contrast) |
When precise windowing on a compressed study matters, verify the exported image against your PACS workstation before relying on it.
Local Processing and HIPAA-Regulated Workflows
Every DICOM file this tool touches can carry a patient's name, date of birth, and institution — protected health information that a server-based converter would need to receive, process, and (even briefly) store. Because parsing, windowing, and encoding all run in the browser's own JavaScript and Canvas APIs, a technologist can convert a real study on a hospital workstation without that file, or the images derived from it, ever crossing the network. That keeps the conversion step inside the same trust boundary as the PACS itself, rather than adding a third-party upload to the workflow.
Working Alongside Other DICOM Tools
Converting is usually the last step, not the first. Before exporting images for anything that will leave your institution, open the file in the DICOM Tag Viewer to see exactly what metadata (and PHI) it carries, run it through the DICOM De-identifier to strip the identifying tags, and only then convert the cleaned file here. Chaining the three tools in that order — inspect, de-identify, convert — keeps a teaching file or referral image from carrying identifiers that a quick JPEG export alone would not remove.