Introduction: One File, Many Pictures
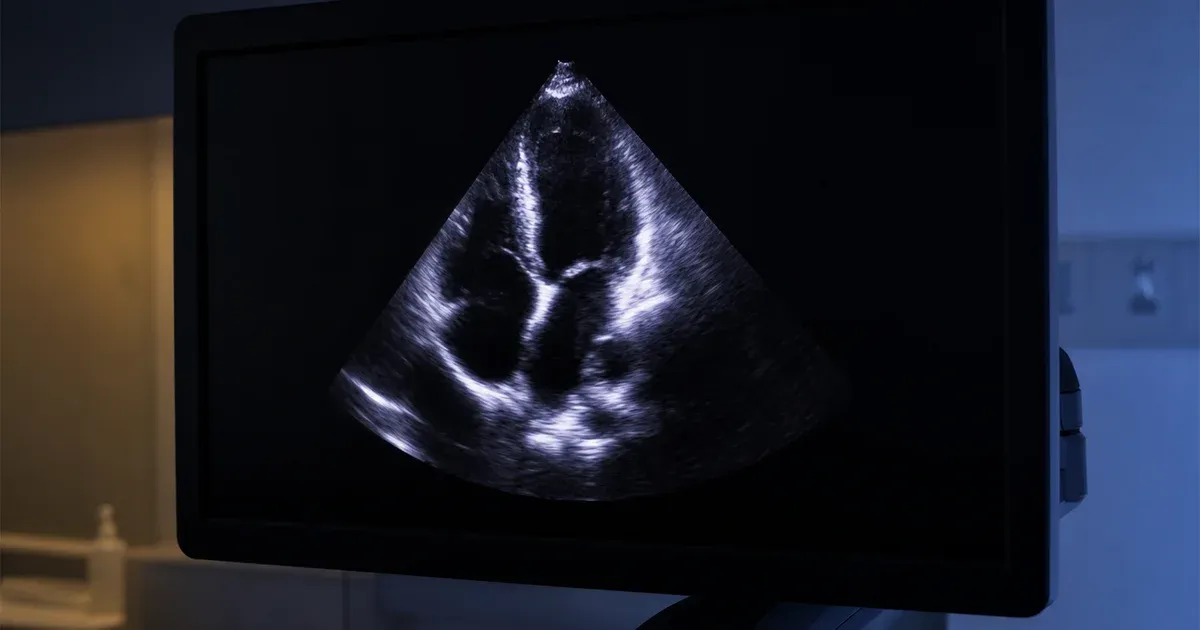
A single-frame DICOM is the case most people picture — one slice, one image. A multi-frame object is different: it stores an ordered sequence of images inside one file. Echocardiography cine loops, X-ray angiography runs, multi-phase CT, and cardiac cine MR all arrive this way. The moment you try to pull a JPEG or PNG out of one, the simple "export the image" mental model breaks, because there is no single image — there are dozens or hundreds. This guide covers what changes when you convert a multi-frame object, where people lose data or clinical meaning, and how to do it cleanly in your browser with our DICOM to JPEG/PNG Converter, without uploading anything.
How DICOM Stores Multiple Frames
The DICOM standard (PS3.3, the Information Object Definitions) treats a multi-frame image as a single Image Pixel module whose Pixel Data element (tag (7FE0,0010)) contains every frame concatenated in order. The count lives in the Number of Frames attribute, tag (0028,0008), defined in PS3.3 C.7.6.6 — if that element is present and greater than 1, you are holding a cine object. Each frame shares the same Rows (0028,0010), Columns (0028,0011), and bit-depth attributes, so geometrically the frames are uniform; what differs is their content and, sometimes, their per-frame parameters.
Crucially, the frames are not independent files glued together. They are one logical object, and the order is the clinical signal: in an echo loop, frame N+1 is the heart a few milliseconds after frame N. Extracting "a frame" therefore means indexing into that ordered sequence and rendering exactly one slice of pixels, while remembering where it sat in time.
Why You Cannot Treat Every Frame Identically
The naive assumption is that one window/level setting and one rendering path serve every frame. Often that is true, but enhanced multi-frame objects break it. The enhanced families — Enhanced CT, Enhanced MR, and the X-Ray Angiographic objects — carry the Per-Frame Functional Groups Sequence, tag (5200,9230), described in PS3.3 C.7.6.16. That sequence can store a distinct Pixel Value Transformation (rescale slope and intercept) and a distinct Frame VOI LUT (window center and width) for each individual frame.
In plain terms: in an enhanced object, frame 12 might legitimately need a different window than frame 80, because the acquisition parameters changed across the run. If your converter ignores the per-frame groups and applies the Shared Functional Groups Sequence (5200,9229) or a single global VOI to all frames, some exports will look wrong — too dark, too washed out, or with incorrect Hounsfield mapping. A correct conversion reads the per-frame functional group for the frame you are exporting and applies that frame's own rescale and VOI values. This is the single most common silent error when people script multi-frame extraction themselves.
Frame Indexing: Off-By-One and Ordering
Two indexing mistakes recur. First, the off-by-one: DICOM frame numbering in the standard's user-facing language is 1-based (frame 1 is the first frame), but most code addresses the pixel buffer with a 0-based offset. When you ask a tool for "frame 1," confirm whether it means the first frame or the second. Our converter labels frames as the clinician counts them, starting at one, and names exported files accordingly so the mapping is unambiguous.
Second, ordering. The frames are stored in acquisition order, but some objects carry a Frame Increment Pointer, tag (0028,0009), and dimension organization metadata that describe how frames are meant to be traversed — for example by cardiac phase or stack position rather than raw storage order. For most cine loops storage order equals display order, but for multi-dimensional enhanced objects you should not assume it. If you are exporting a whole stack for quantitative work, verify the intended traversal before trusting the sequence, as covered in our companion piece on standard windowing presets for CT, MR, and X-ray.
Single Frame vs Whole Sequence: Choosing Your Export
The first real decision is whether you need one frame or all of them. Three questions settle it.
- Does the meaning live in the motion? A beating-heart echo loop, a contrast bolus filling a vessel in angiography — these carry their clinical message in the change between frames. Export the whole sequence and preserve order.
- Do you need one representative still? For a teaching slide, a case report figure, or a quick share, a single well-chosen frame at peak systole or maximum opacification is usually clearer than an animation. Scrub to it and export just that frame.
- Is this for measurement? If frames feed a model or manual annotation, export every frame losslessly as PNG, keep frame numbers in the filenames, and retain the source object.
Our converter supports both paths: scrub to a specific frame and export a single JPEG or PNG, or render every frame and bundle them into a ZIP archive with frame numbers preserved in each filename so temporal order survives the download.
Per-Frame Windowing in Practice
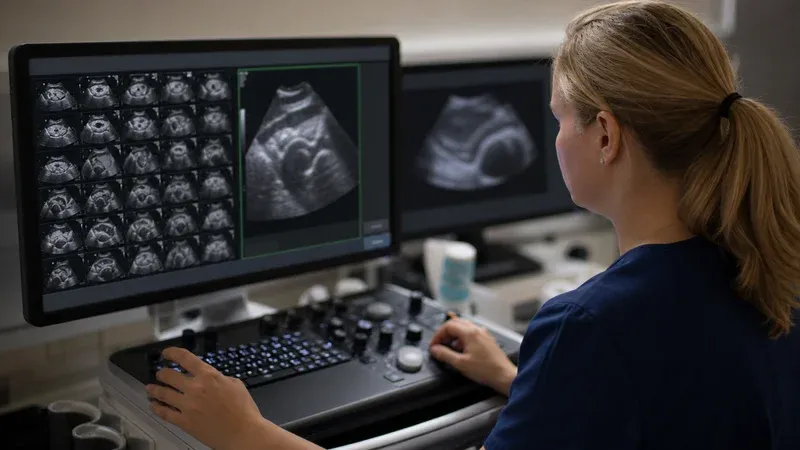
When you export a single frame, set the window deliberately for that frame's anatomy and acquisition, exactly as you would for a single-frame study. The difference is that with enhanced objects the "right" default may shift between frames. A disciplined workflow is to scrub to your target frame first, let the tool load that frame's own VOI from the per-frame functional group, then fine-tune visually before exporting. If you are exporting the entire sequence for viewing rather than measurement, a single consistent window often reads better as an animation than a window that jumps frame to frame — so consider overriding per-frame VOI with one stable setting when the goal is a smooth loop, but never when the goal is quantitative fidelity.
What You Lose in the Conversion
Every multi-frame export discards more than a single-frame export does, and it is worth naming what disappears. You lose the temporal binding — a folder of PNGs is not a cine object, and nothing in the JPEG or PNG format records the frame rate. The Cine module's Frame Time (0018,1063) or Frame Time Vector (0018,1065), which encode the interval between frames, do not survive into a flat image. If playback speed matters downstream, record the frame rate separately. You also lose the full bit depth: a 16-bit CT frame collapses to 8-bit gray, so any later quantitative re-analysis must return to the original .dcm. And you lose the synchronization between frames and any embedded ECG or physiological waveform. A converted frame is a faithful picture, not a faithful object.
The Privacy Edge Cases Specific to Multi-Frame
Multi-frame objects raise a privacy wrinkle that single stills do not. Ultrasound and angiography frames frequently carry burned-in pixel data — patient name, machine ID, or an accession number rendered directly into the image — and that text can appear on some frames and not others, or drift position across the loop. Checking the first frame is not enough. If you export a whole sequence, every frame needs the burned-in-text review, because an identifier hidden on frame 47 leaves the same disclosure trail as one on frame 1. Stripping the DICOM wrapper removes structured tags but never touches pixels, a point we cover in detail in our guide to converting DICOM to JPEG or PNG. For research exports, de-identify the source object first, then visually scan the rendered frames.
Why Local, Browser-Based Extraction Matters
Multi-frame objects are large — a single angiography run can be hundreds of megabytes — and they are dense with protected health information across many frames. Uploading them to an unknown web converter multiplies the exposure of an already sensitive object. A browser-based tool parses the Pixel Data, reads the per-frame functional groups, renders each frame, and encodes the output entirely on your machine. Nothing leaves the device; you can confirm in the browser's network panel that no upload request fires. For anyone working under HIPAA or GDPR, keeping a multi-frame pipeline local removes a whole category of compliance risk while comfortably handling files too large to email.
A Step-by-Step Workflow
- Open the DICOM to JPEG/PNG Converter and drop in the multi-frame
.dcmfile. - Confirm the frame count and scrub through the sequence to understand what each frame shows.
- Decide single frame or whole sequence based on whether the clinical meaning lives in the motion.
- For a single frame, scrub to it, let the tool load that frame's VOI, fine-tune the window, and export JPEG (sharing) or PNG (measurement).
- For the whole sequence, export all frames to a ZIP with frame numbers preserved, and record the frame rate separately if playback speed matters.
- If the images leave a trusted environment, de-identify the source first and review every exported frame for burned-in text.
Common Mistakes to Avoid
- Applying one window to an enhanced object. Read the Per-Frame Functional Groups Sequence; frame-specific rescale and VOI exist for a reason.
- Trusting storage order blindly. Check the Frame Increment Pointer and dimension metadata before assuming display order.
- Off-by-one frame numbering. Confirm whether "frame 1" means the first or second frame in your tool.
- Reviewing only the first frame for privacy. Burned-in identifiers can appear on any frame; scan them all.
- Discarding the frame rate. JPEG and PNG do not store Frame Time; record it if motion timing matters.
Conclusion
Converting a multi-frame DICOM is not just converting an image many times — it is indexing into an ordered sequence, respecting per-frame parameters, and deciding whether the clinical value lives in a single still or in the motion itself. Read the Number of Frames tag, honor the per-frame functional groups, keep frame numbers and frame rate, and apply the burned-in-text review to every frame, not just the first. Do it in a private, browser-based tool and a complex cine object becomes exactly the still or sequence you need, with patient data never leaving your machine. Start with the DICOM to JPEG/PNG Converter, and pair it with the DICOM Image Viewer to scrub the loop and pick the right frame before you export.